One of 13 recommended WordPress plugins, the All In One SEO Pack is a powerful tool that can help your blog and individual posts become much more visible to search engines. Its power, and conversely weakness, is in All In One SEO Pack’s complexity. Many people who first install the plugin focus on adding descriptions to individual posts when you can more efficiently harness the SEO effectiveness on the general configuration page.

Setting Up All In One SEO Pack From Scratch
Installation of All In One SEO goes much like most other WordPress plugins and is a realtively straightforward affair. Once you’ve uploaded the plugin (download here) and activate it, the first order of business is to head over to the “Options” page. All In One SEO Pack is kind enough to direct you there when you first activate the plugin, otherwise in your WordPress backend head to Settings > All In One SEO.
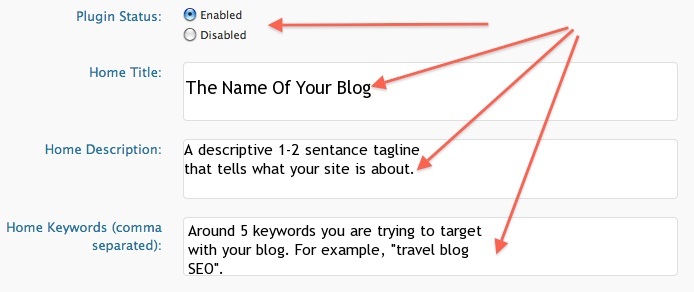
The rest of these default settings are fine for most travel blogs. I wouldn’t recommend changing them unless you want your post title and blog title to appear differently at the top of a browser window.
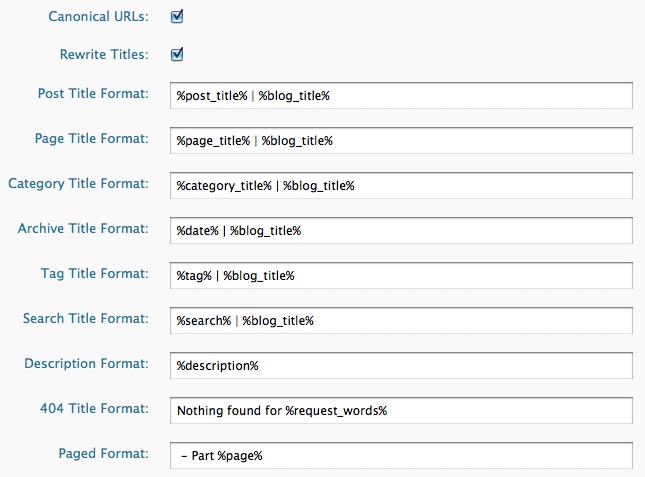
Settings To Consider Deviating From The Default – Meta Keywords
Meta keywords are a elements of HTML that were originally designed to provide other computers (and search engines) with information about a given web page. The importance of meta keywords has significantly diminished in recent years and their effectiveness is often disputed. You can however use All In One SEO to convert your travel blog categories (e.g. time management) into meta tags.
- This is a good setting to consider in the first 3 months of your travel blog when you don’t have many ‘post tags’ yet established.
After that, you should check the “Use Tags For Meta Keywords” instead; but not both. (This assumes you are adding post tags to your individual blog posts.) Checking both could earn you a small penalty from the search engines; they typically don’t like when you have too many similar ‘follow’ links on a given page. While meta keywords might have negligible SEO benefits, ignoring them won’t gain you anything.
The Misunderstood Dynamically Generate Keywords Setting
If you’ve set your WordPress blog to appear on a page other than the homepage (e.g. http://foxnomad.com/blog vs. http://foxnomad.com), then checking this setting tells All In One SEO pack to use the keywords you’ve set for posts on that [blog] page to act as the keywords for the entire page. The alternative is to set the keywords for a given page specifically, using the All In One SEO Pack configuration box at the bottom of the page-edit screen.
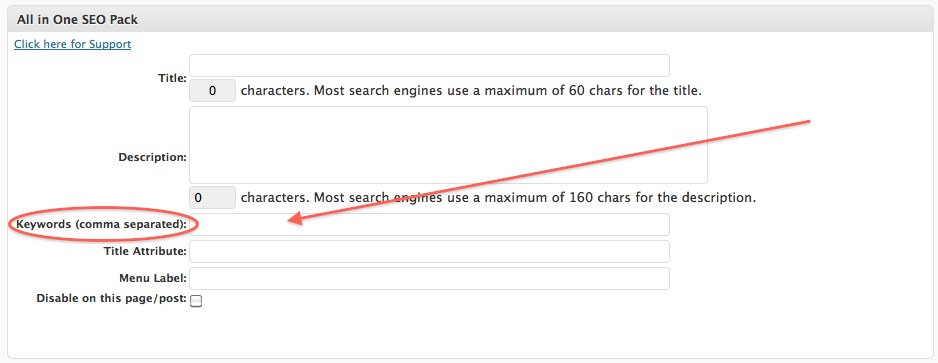
This configuration box can be used to define specific keywords and descriptions for any and all of your travel blog’s posts and pages. If you don’t set them individually or won’t on a regular basis, you can have All In One SEO do it for you by checking the “Autogenerate Descriptions”. All In One SEO will then use the first 160 characters of a given post to automatically create the description field for it.
Using Noindex
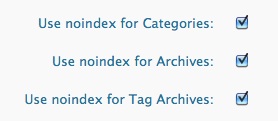 All In One SEO Pack will, by default, “noindex” your category, tag, and archive links. Those “noindex” links are the equivalent of “no-follow” links which tell search engines to ignore them. Again, to avoid duplicate links and content from being indexed (and subsequently penalized by the search engines), choose only one of these to un-check. Those of you who are diligent about tagging your posts with keywords can enable indexing of tags, while very new blogs or small static sites can enable indexing on categories to expand the number of overall pages being read by Google and other search engines.
It’s important however not to un-check more than one of these boxes in general so as not to have duplicate links being indexed more than once.
 That Configuration Box Below Each Post – Do I Need To Fill It In Every Time?
At the bottom of every one of your post and page drafts is a small All In One SEO configuration box. You can fill in keywords, specific descriptions, and modify your post titles just for the search engines. Most people don’t bother filling these in or lose enthusiasm for doing so after time. Filling each configuration box out can really help you focus your travel blog on a few specific keywords but the truth of the matter is most travel blogs aren’t keyword-oriented.
- Most of the large (and SEO-oriented) travel blogs optimize their homepages and individual travel blog pages (using All In One SEO) and leave the posts up to the automatic functions of the plugin.
You can see what others are targeting by checking out the “Page Source” using your web browser. Look for what’s between the lines “<!– All in One SEO Pack” and “<!– /all in one seo pack –>” and you’ll see the description and specific keywords being targeted on a given page.
Expanding Your SEO-Reach
All In One SEO is a vital organization tool for your travel blog and does a lot of the SEO dirty work for you. In addition to the All In One SEO Pack you should change your permalink settings and use the alt attribute so your photos can be indexed as well. The search engines rely on boring text to sort through and map out your travel blog and All In One SEO gives them much more to read and feed on.
[photos by: jackbouma (magnifying glass), crystaljingsr (question mark)]


 How To Publish eBooks To Amazon’s Kindle
 How To Publish eBooks To Barnes & Noble Nook

 Be Very Specific With Entry Rules And Deadlines



 Look At Your Flashy Website
 Where To Find The Location Data


 Meet The Bots
 What The Annoying-Commenting-Bot-Spammers Are After
 How To Handle And Reduce Comment Spam
 Think of your blog as a home. It’s full of beautiful and interesting things, the corners need a bit of a clean but the windows are gleaming. Now think of inbound links as the threshold. A clear divide between the inside and outside of your home.
 Contrary to popular belief, simply leaving a boney little comment on a blog post isn’t very powerful in terms of direct search engine benefit. WordPress comment threads are mostly classified “nofollow” by default (“nofollow” is a value added to a hyperlink which tells Google’s search spiders to ignore that individual link.) Therefore, from a purely SEO (search engine optimisation) perspective, the link is a loss-leader.
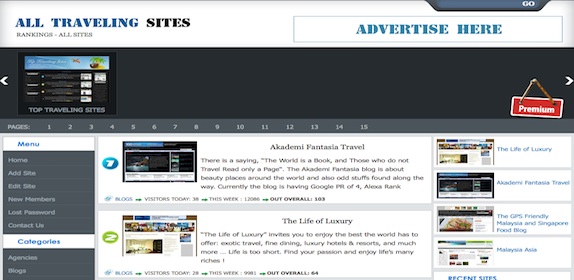
 Blog Directories
 Guest posts are a great way to achieve link love from the Big G, because they (should) include a link back to your website or blog. A link from the main body of a good domain is worth a lot (you don’t think I’m writing for Anil out of pure love, do you?), and this is a tactic you’ll hear a lot more of over the next 12 months as Google algorithms develop to combat shortcuts.
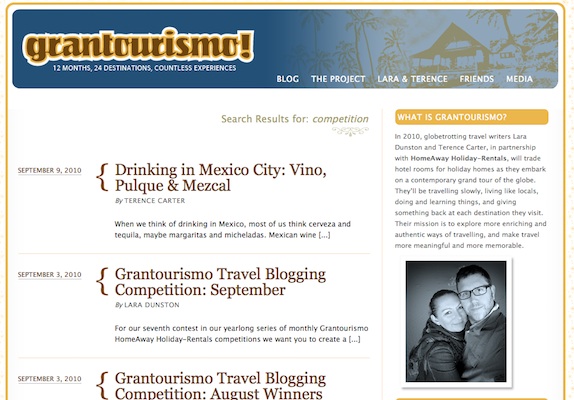 Many of their entrants are good travel writers. Good writers’ blogs have built up natural respect, and tend to command good authority with Google, therefore one link from them is worth two in the bush.
 What’s A Bad Link?

 Vouching For Everyone – Why Links Pages Don’t Typically Rank
 Trust Goes Both Ways